How to install a single-zone mini split
Step by step, start to finish, with MRCOOL's own videos at every step. Written for first-timers. If you can hang a heavy shelf and use a wrench, you can do this.
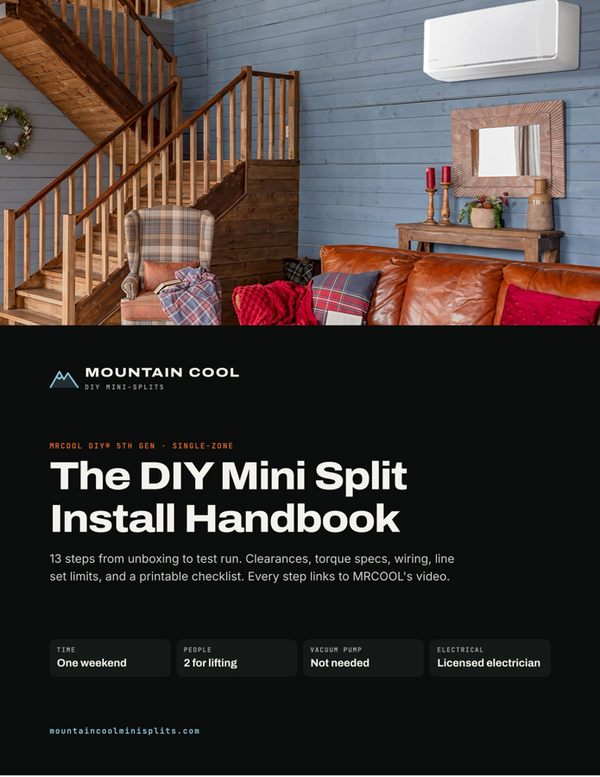
Get the DIY Mini Split Install Handbook
All 13 steps, the clearance, torque, wiring and line set tables, QR codes to every MRCOOL video, a sign-off checklist, and a 10% off code for your system.
Jump to a step
Skim the whole page once before you drill anything. Keep the MRCOOL® manual from the box next to you. It's the final word for your exact model. This guide follows MRCOOL's 5th Gen single-zone manual and puts their videos in order.
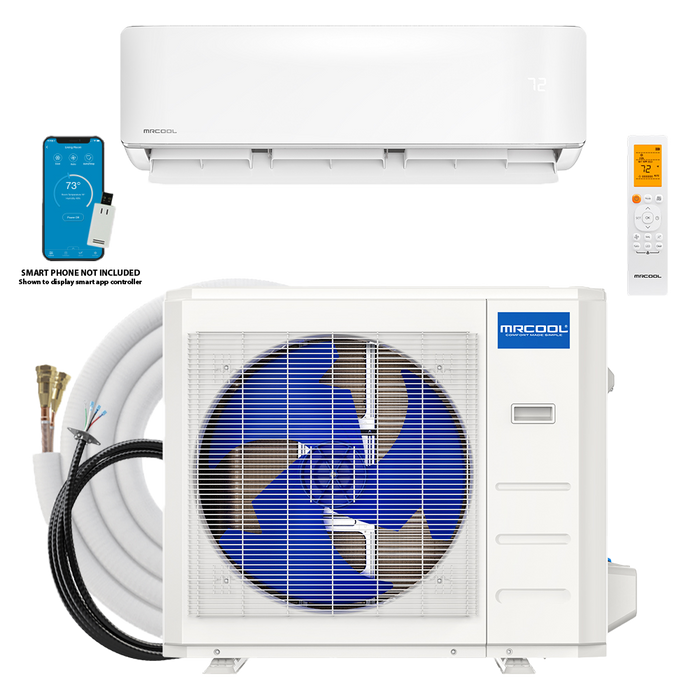
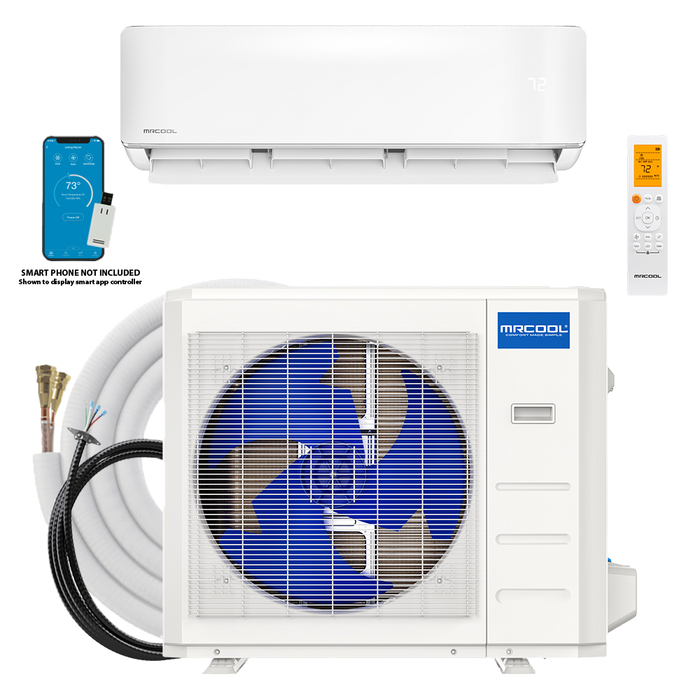
In the box
- Indoor air handler + metal wall plate and cardboard template
- Outdoor condenser
- 25 ft Quick Connect® pre-charged line set
- DIYPRO® communication cable
- Remote, holder and 2 AAA batteries
- Plastic wall sleeve and cap
- Drain joint and drain pipe
- Neoprene seal, insulation sleeves, sound pads and wrap tape
- Wall anchors and screws
- Smart controller (Wi-Fi) kit
- 5 mm Allen wrench
Tools you'll need
- Drill + 3½ in (90 mm) hole saw or core bit
- Stud finder, level, tape measure, pencil
- Two adjustable wrenches (or open-end wrenches sized to your fittings)
- HVAC torque wrench (optional, recommended)
- Phillips screwdriver and utility knife
- Leak-detection spray or soapy water + brush
- Electrical tape
- Safety glasses and work gloves
- A helper for hanging the indoor unit
Buy locally
- Condenser pad or wall bracket
- Outdoor disconnect, whip, breaker and wire (your electrician will spec these)
- Drain hose extension
- Exterior sealant or spray foam
- Line set cover (we carry LineGuard®)
Unbox, check the parts and plan your route
Before anything goes on the wall, make sure the indoor and outdoor model numbers match (check the labels on both boxes). Then walk the route the system will take:
- Indoor unit: where it hangs.
- Wall hole: behind the right side of the unit (the default exit for the lines).
- Line set: down the outside wall to the condenser. You have 25 ft to work with.
- Power: where the electrician will run a dedicated circuit and disconnect.
MRCOOLMRCOOL DIY® unboxing + LineGuard first look
MRCOOLWhich MRCOOL DIY® system is right for your space
Lay the coiled line set out flat in the sun for a bit before you uncoil it. Warm copper bends easier.
Pick the indoor spot
Good spots have open airflow, a solid wall that can carry the weight, and an easy path for the drain to run downhill. Keep the unit:
- At least 6 ft above the floor
- At least 6 in below the ceiling and about 5 in from side walls
- About 3 ft away from TVs, routers and other electronics
- Away from heat sources, curtains, doorways and direct sun
The 5th Gen units use R-454B refrigerant, so MRCOOL also lists a minimum room size for each model. It's in the table in section 3.2 of your manual. Most bedrooms and living spaces clear it easily, but check it if you're putting a unit in a small room.
Mount the wall plate
Take the metal plate off the back of the indoor unit. Use the cardboard template (or the plate itself) to mark your screw holes and the wall hole location.
- Find the studs and catch at least one with your screws. Use the included anchors anywhere else.
- Level the plate. If the unit isn't level, water can run to the wrong end of the drain pan.
- Screw the plate flat against the wall.
On brick or concrete, drill 5 mm (about 3/16 in) holes and use the sleeve anchors.
Drill the 3½ in wall hole
Use a 3½ in (90 mm) hole saw or core bit. Drill at a slight downward angle so the outside end of the hole is about ¼ in lower than the inside. That slope lets condensate drain out instead of back into the wall.
- Check for wires, pipes and studs before you cut. A stud finder with AC detection helps.
- Drill from inside until the pilot bit pokes through, then finish from outside for a clean edge.
- Push the plastic wall sleeve in from inside and trim it flush with the outside wall.
Before you drill, look inside the wall: open an outlet cover or check from the basement or attic. A 3½ in hole is hard to undo.
Set the outdoor condenser
Put the condenser on a firm, level pad or a wall bracket rated for at least four times its weight. Pick a spot with open airflow around it, out of roof drip lines, and raised above your typical snow depth. In windy spots, turn the fan side 90° to the wind.
- Install the drain joint first: rubber seal on, into the base pan hole, then twist it 90° until it clicks. Add a drain hose if you don't want defrost water dripping where it lands.
- Bolt the feet down with M10 (about 3/8 in) bolts. Rubber pads under the feet cut vibration noise.
| Size | W × H × D | Weight |
|---|---|---|
| 9K / 12K | 30.1 × 21.8 × 11.9 in | 65 lb |
| 18K | 35.0 × 26.5 × 13.5 in | 93 lb |
| 24K | 37.2 × 31.9 × 16.1 in | 123 lb |
| 36K | 37.2 × 31.9 × 16.1 in | 152 lb |
Give it room to breathe: MRCOOL's figure in section 4.1 shows about 4 in or more between the back of the unit and the wall, and around 20 in of open space in front and above. Don't box it in with shrubs or a fence.
Bend the lines and hang the indoor unit
The indoor unit's short pipes come out the back. They need to bend out toward the hole before the unit goes on the wall.
- Leave the caps on the pipe ends.
- Hold the pipe at the base of the bend and slowly bend it about 90° so it sticks straight out the back. Go easy. A kinked pipe is a dead pipe.
- Tape the pipes and the drain hose into one bundle, with the drain hose on the bottom. Don't tape over the fittings.
- Feed the DIYPRO® cable through the hole first.
- With a helper, feed the bundle through the hole, hook the top of the unit on the plate, then press the bottom until it snaps onto the lower hooks.
- Wiggle it left and right. It shouldn't move.
If the drain hose isn't at the bottom of the bundle, the drain pan can overflow into the room.
Run the line set and seal the hole
Outside, gently bend the pipes coming out of the wall down toward the ground. Then unroll only as much of the Quick Connect® line set as you need, starting with the end that goes to the indoor unit. Leave the rest coiled.
- Keep every bend at least a 4 in radius. Bend by hand around your palm, not over an edge.
- Don't bend the same spot more than 3 times. Copper work-hardens and can crack.
- Pack the leftover space in the wall hole with the included neoprene (or spray foam).
- Store extra line set coiled flat (horizontal) behind the condenser, wrapped in tape.
Need more than 25 ft? Add an extension and a DIY® coupler kit instead of stretching. We carry both, sized to your system.
Connect the Quick Connect® fittings
This is the step people worry about, and it's simpler than it looks. The line set comes pre-charged and seals itself as you tighten. No vacuum pump, no flaring, no gauges.
- Work in dry weather. Keep the caps on until the moment you connect, and make sure the threads are clean and dry. The colored caps match their partners.
- Start the nut by hand for a few turns, square to the fitting.
- Use two wrenches: hold the fitting body still with one and turn the nut with the other until snug.
- Finish to torque with an HVAC torque wrench, or go just a little past snug if you don't have one. Do not crank it.
- Do the indoor side first, then the condenser (remove the condenser's valve cover first).
| Stamp | Pipe | Torque |
|---|---|---|
| FA06 | 3/8 in | 18–20 lb-ft |
| FA09 | 1/2 in | 30–35 lb-ft |
| FA12 | 3/4 in | 45–50 lb-ft |
| FA16 | 1 in | 60–65 lb-ft |
Wrench sizes run from 3/4 in to 1-1/4 in depending on the system size, so two good adjustable wrenches cover everything.
MRCOOL · 2:21How to connect the pre-charged Quick Connect® line set
MRCOOLNo-Vac® install timed against a flare and evacuate install
No Teflon tape or thread sealant. These are one-time fittings, so connect them once, correctly. Taking them apart and reconnecting can cause leaks and voids the warranty.
Open the valves and check for leaks
Now you release the refrigerant into the system.
- Take the cap off the top service valve (19 mm wrench). Put the 5 mm Allen key in and turn counter-clockwise until it stops. Don't force it. Put the cap back on and snug it.
- Do the same on the bottom valve.
- Spray all four connections (2 indoor, 2 outdoor) with leak-detection spray or soapy water. Bubbles mean a leak: tighten a little more and check again.
Never run the system with the valves closed or the line set disconnected. It will damage the compressor right away.
Wrap the connections and test the drain
- Wrap each fitting tightly with the sound-absorbent pads, then the black insulation. Cover any bare spots with the white insulation.
- Starting at the indoor unit, spiral the non-adhesive tape around the line set, cable and drain hose up to the wall hole. Keep the drain on the bottom and leave its end unwrapped.
- Connect your drain extension and route it downhill all the way.
- Make sure the unused drain port on the indoor unit is plugged.
- Pull the indoor filter and pour a little water across the coil. It should run out the end of the hose.
Wire the power and the DIYPRO® cable
The DIYPRO® cable between the units is plug-and-play. At the condenser, take off the electrical cover, pass the cable through the cover, lock it with its nut, then screw each numbered wire to the matching terminal and the ground to the ground screw.
Power to the condenser needs a dedicated circuit with a disconnect. MRCOOL requires electrical work to be done by a qualified electrician, and we agree. It's usually a short, affordable job.
| Size | Voltage | Min. circuit amps | Max breaker | Wire (typ.) |
|---|---|---|---|---|
| 9K / 12K | 115V | 18 A | 20 A | 12 AWG |
| 18K | 230V | 18 A | 20 A | 12 AWG |
| 24K | 230V | 24 A | 25 A | 10 AWG |
| 36K | 230V | 33 A | 35 A | 10 AWG |
Wire size depends on run length and local code. Your electrician and inspector have the final say.
Kill the power at the panel before opening any cover, and wait 10 minutes after power-down before touching anything inside the condenser.
Run the 30-minute test
With everything connected, valves open and leak-checked, turn the power on. The unit will beep.
- Cool: set the lowest temperature and let it run at least 5 minutes.
- Heat: set the highest temperature and let it run at least 5 minutes.
- Keep it running for about 30 minutes total and re-check every connection with soapy water. Pressures change once it's running.
Under 60°F outside? The remote won't start cooling. Lift the front panel and press the MANUAL CONTROL button twice to force cool mode for the test.
Finish up: cover, Wi-Fi and warranty
- Cover the line set. A LineGuard® cover protects the insulation from UV and makes the install look professional.
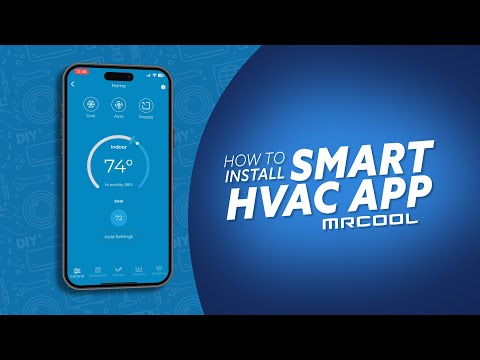
- Connect Wi-Fi. Plug in the smart controller and pair it with the MRCOOL® SmartHVAC app to control the system from your phone.
- Register your warranty with MRCOOL and keep your receipt.
- Clean the filter every two weeks. Rinse it in warm, soapy water and let it dry out of the sun.
Everything for a single-zone install
Line Set Cover

Get the DIY Mini Split Install Handbook
All 13 steps, the clearance, torque, wiring and line set tables, QR codes to every MRCOOL video, a sign-off checklist, and a 10% off code for your system.
We're DIYers too. Ask us anything.
Send us a photo and a quick note and we'll help you get it right, usually within one business day.
This guide summarizes MRCOOL's DIY® 5th Gen single-zone installation manual. Always follow the manual that came with your unit and your local codes. MRCOOL requires electrical work to be done by a qualified electrician. Videos are MRCOOL's, embedded from YouTube.